9 – The Dark Side of Notre Dame is a hidden object game with a distinctive, detective feel, sending you wandering through the night-time streets of Paris looking for clues. You play as a detective, brought in by the Paris police to solve a seemingly impossible crime after Gargoyles from the Notre Dame Cathedral kidnap a young girl. You will explore the city as well as the cathedral, looking for clues both magical and mundane.
This walkthrough will provide helpful tips and tricks to guide you through the game. The information is specifically designed so you have to do as little back-tracking as possible, but be sure to examine each object in any room carefully so that you know where to come back to later.
Contents
General Tips & Tricks
These are just a couple of useful maneuvers that will help you get from start to finish with minimum frustration.
1: Investigate Everything. This game has a set number of steps and there’s no way to skip them so you’re most likely to lose time if you miss something and have to go back and search room by room. Run your curser over the whole map and click on everything.
2: Use your Map! Getting lost doesn’t help. Memorize which room leads where and keep a handy list of what seems important in each room. The Map is a physical item in game in the Souvenir Shop and will help you jump straight to where you need to go.
3: For the painting sequence, try to use your cursor instead of the brush tip. It’s just easier.
With that said, let’s get started!
9 – The Dark Side of Notre Dame Walkthrough
Chapter 1: Paris
The first location is a snowy street, blocked by a carriage. You must fix it to advance.
First grab the Wheel. The Needle is hidden on the teddy bear and the DIAL is behind a flyer.
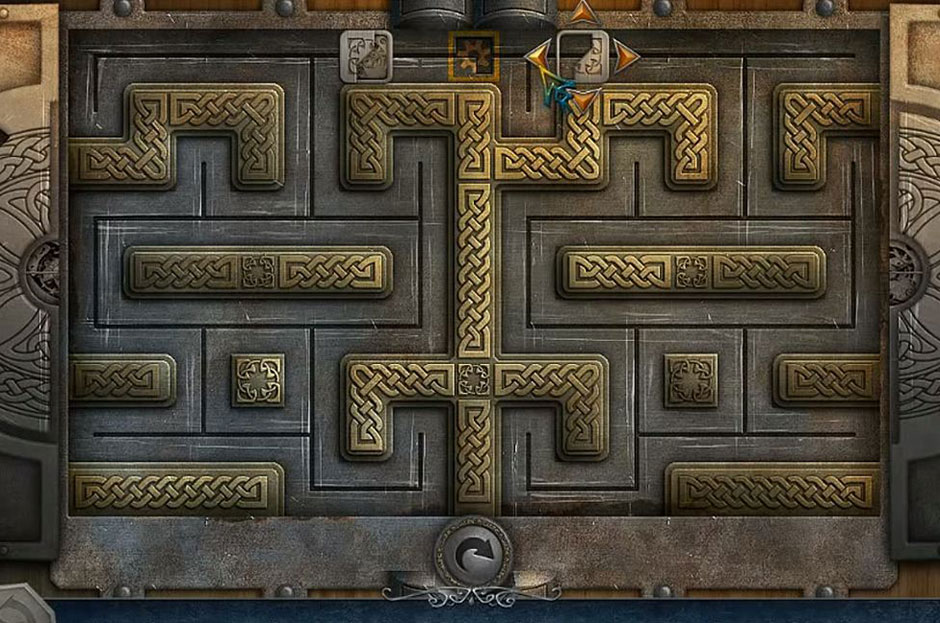
Use the Dial on the cellar door and a mini-game will activate.
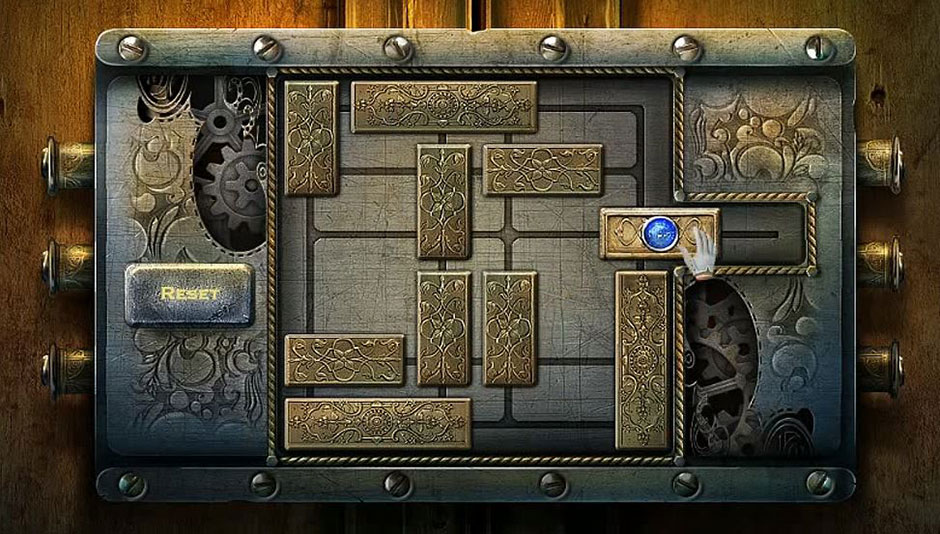
•Move the two squares to the gear cell on the top. Controls are: Down = D, Up = U, Right = R, and Left = L.
•To solve the puzzle click these arrows on left square: D-Lx2-Ux3-Rx2-Ux2-Lx4-Ux2-D-Rx2-Ux3-Lx4, and Rx7.
Enter the souvenir shop.
Click the cash register to get the Map and the Scissors. Then zoom in on the cupboard and locate all the items to get the Carriage Handle, which will open the carriage door. Inside is a Heavy Bronze Statue and the Wheel Wrench. Use the Wheel Wrench to set the Wheel and push the carriage away so you can advance.
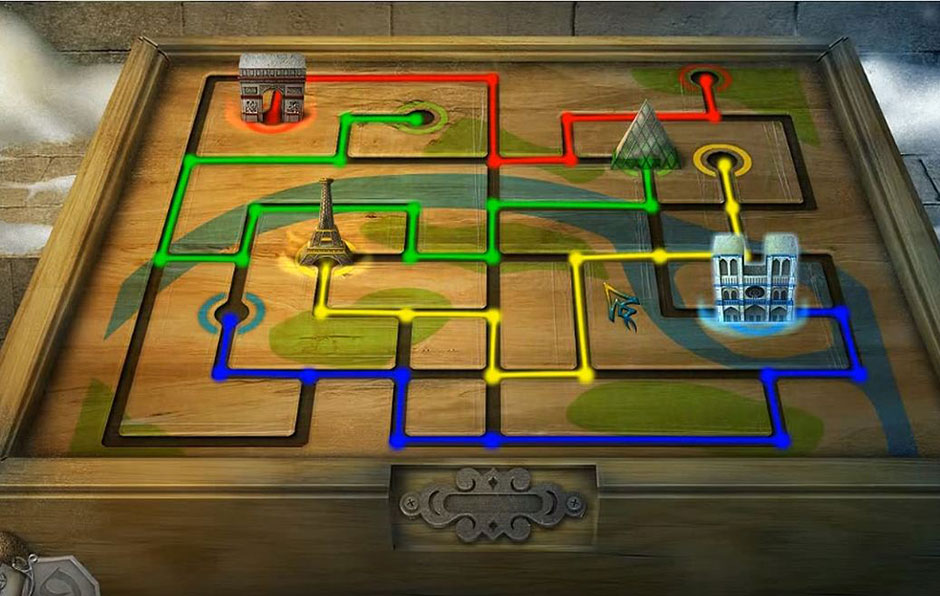
First on the next map, grab the Eiffel Tower Miniature. Then use the Scissors on a cloth to get the Rag. Go to the stand and use your Heavy Bronze Statue and Rag on the glass to receive the Notre Dame Miniature. Place the Notre Dame Miniature and Eiffel Tower Miniature at the tourist center to activate a mini-game.
•Move the landmarks to their proper locations.
•The order is Notre Dame (Lower Left), Eiffel Tower (Lower Right), Arc De Triomphe (Upper Right), Louvre (Upper Left)
Then pick up Car Keys and open the car door to get the Guardian Amulet.
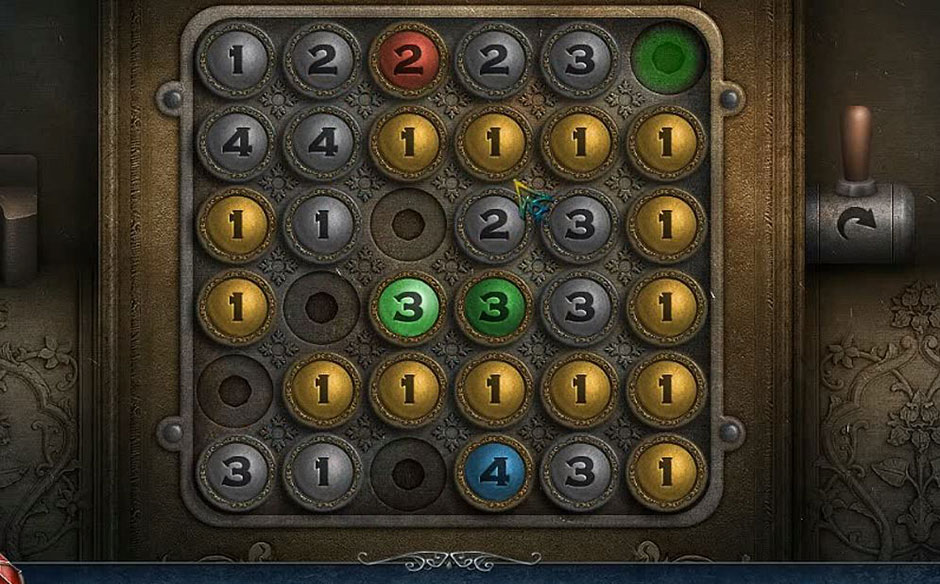
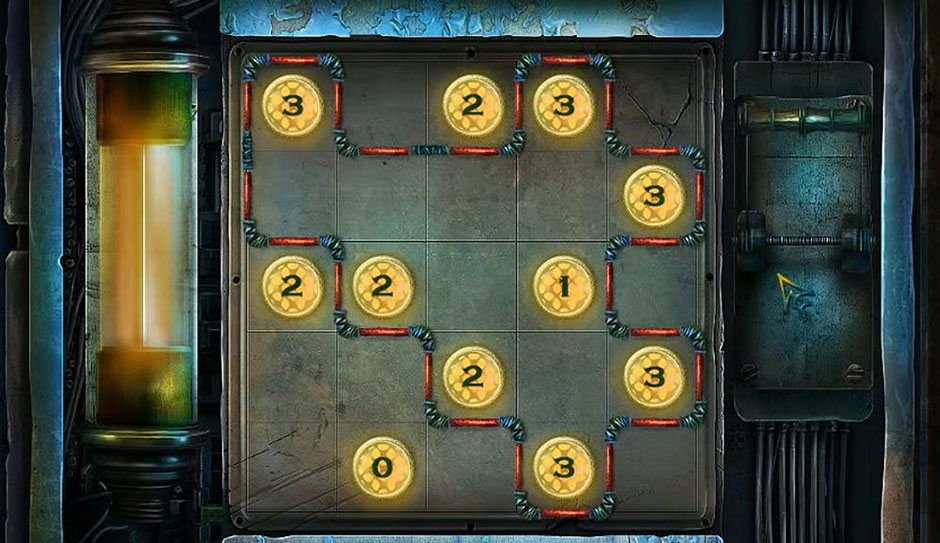
The next map features a snow pile, hiding the Gargoyle Wing, 2nd Gargoyle Wing, and a drain hiding the Register Handle. This opens the souvenir shop register and activates a mini-game.
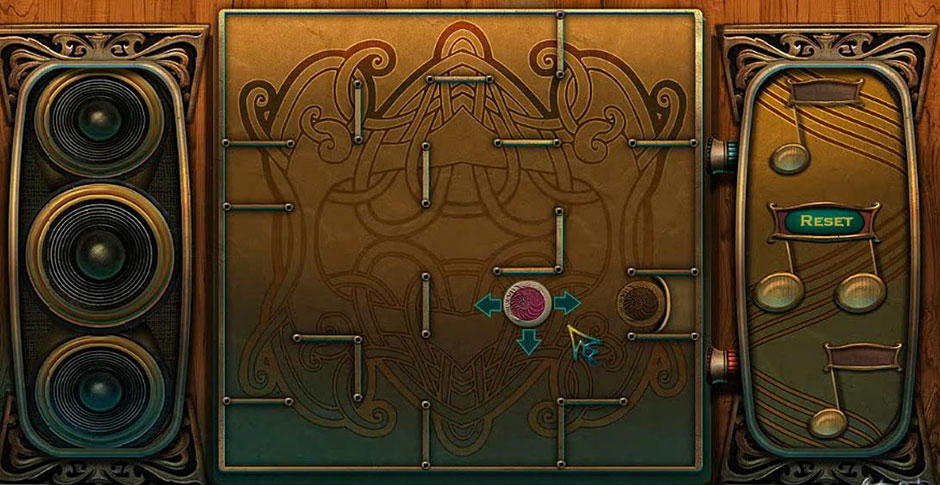
•Move each button the number of spaces written on them.
•The order is: Q-HH, N-Q, H-A, EE-H, W-E, B-N, T-B, C-O, U-C, Z-FF, Y-EE, X-Y, M-T, G-M, DD-G, S-X, V-S, P-DD, D-P, AA-Z, BB-AA, CC-BB, JJ-W, II-CC, R-JJ, F-R, I-D, J-I, GG-J, L-F, and K-L.
You earn the Razor Blade. Cut open the chair nearby to get Stone Statuette then go to Notre Dame Plaza. Use the Razor Blade to cut the banners into Thin Twine, freeing the Small Stone Gargoyle.
After this, click on the Gem and then head back into the souvenir shop.
You can now click on the box, combining the reel, lure, and handle with the Thin Twine to make the Fishing Rod. Use it to reclaim the Green Jewel Key from the drain and open a door to the next map.
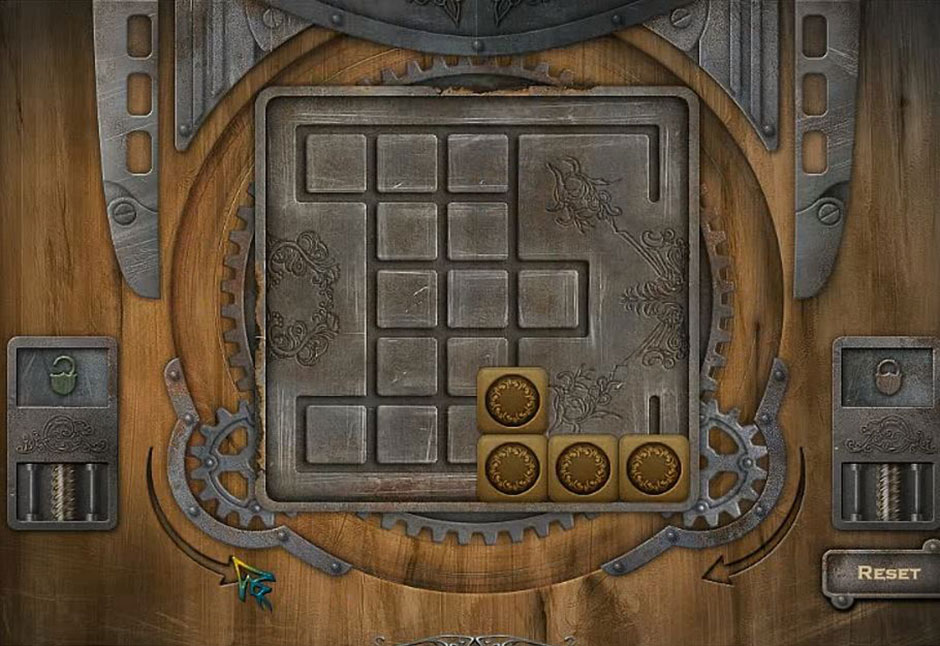
First complete a mini-game.
•Rotate the square to join four or more elements.
•To solve the puzzle, First set – L, Rx2, Lx2, and R.
•Second set: R x10, and L.
Chapter 2: Notre Dame
Speak with Esme. Then pick up the Fire Iron.
Next, use the brush and the glue to attach your 2 Gargoyle Wings to the Small Stone Gargoyle and bring it to life with the Guardian Amulet.
You will receive Gladriel. Use it to grab objects that are far above you.
By clicking you can get the Empty Bucket. Now use Gladriel on the balloon in the square to get the SOAP. Then, use Empty Bucket on the snow pile to get the Bucket with Snow.
Go to the police station entrance. Use Gladriel on the lamppost to snag a Jukebox Token. Then dump the Bucket With Snow and Fire Iron on the barrel to get Bucket With Water.
Re-enter the stonemason workshop. Use the SOAP on the grater and place the shavings inside the bowl. Then add the Bucket With Water and use the spoon, mix it and bottle it to get the Lubricant.
Head deeper into Notre Dame, going forward two rooms until you find an organ and several statues. Take the Spear and use Lubricant to get the Helmet off one.
Slap the Helmet on the statue of Joan of Arc to get the Fleur-Dye-Lys Key. This opens a cabinet in the room with the organ. Inside you will find the Wire Cutters. Take these to the kiosk by the police station entrance and cut the wire. Inside you will need to find more of the listed items.
As a reward you get the Sheet Music. Head to the main hallway and use the Spear to knock down the ladder. Then climb up the scaffolding for the Wrench.
Go forward one room and take a left. You will find a locked door. Use your Wrench to get Organ Keys.
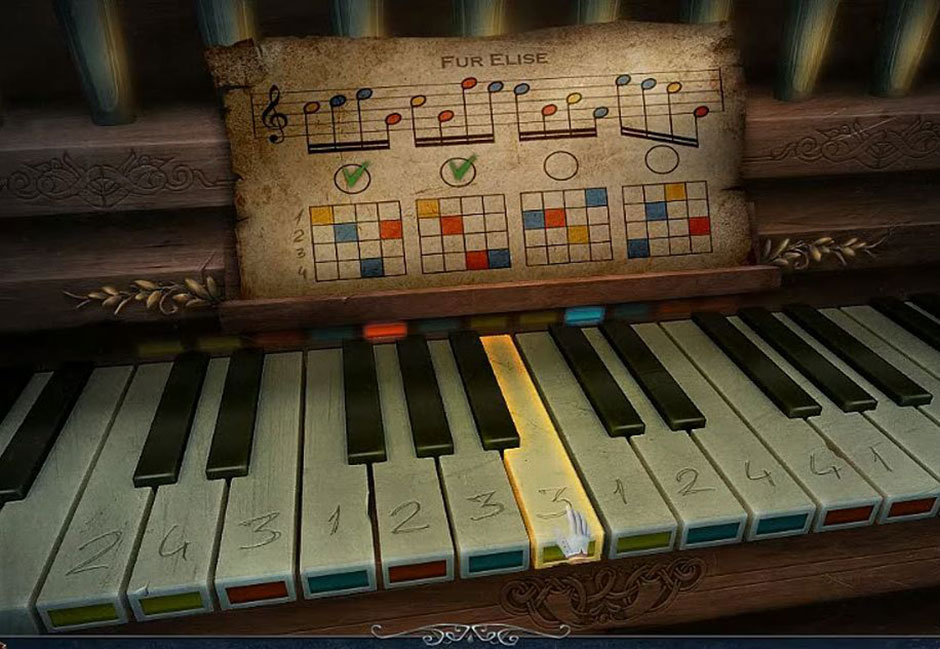
With these, you can fix the Organ. This will activate a mini-game.
•Play all 4 tunes.
• Key Order is 1(4 1 2 3) 2 (2 1 4 3) 3( 4 2 3 1) 4(4 3 2 1)
This opens a secret entrance. Inside is a stained glass window. Click to trigger a cut scene.
Chapter 3: Secret Room
Investigate Esme’s unconscious body and you will be attacked. You wake up alone.
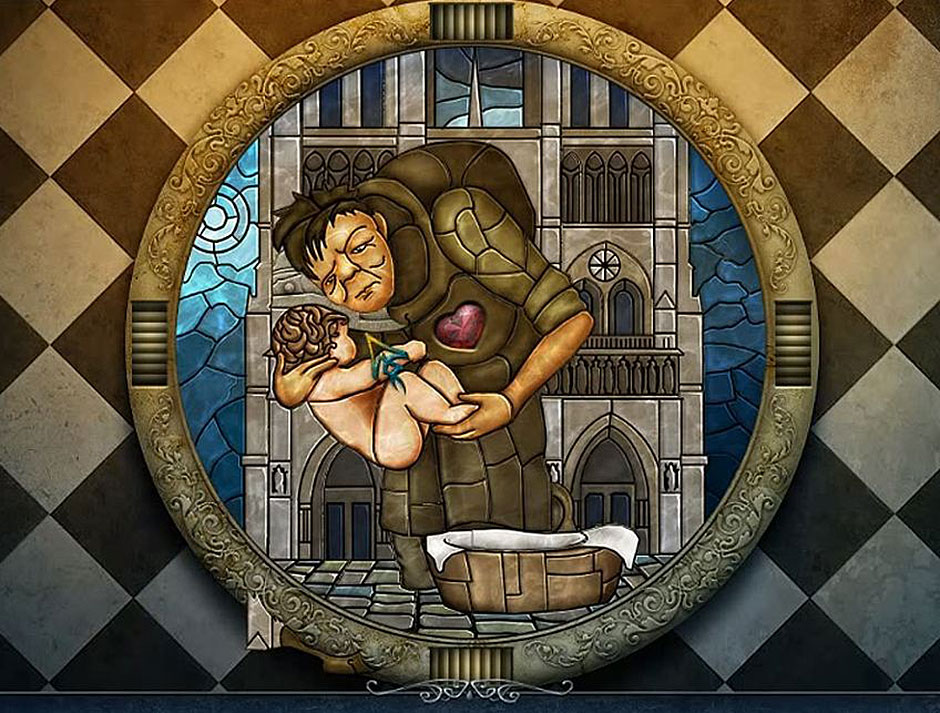
Take the door and find Esme’s Medallion and the Thick Cloth on a table. A Police Badge is located on the slab and the Baking Powder inside a chest. Go to the north tower entrance. Place Esme’s Medallion in the slot beneath the paper to get the Quatrefoil Key. This opens a drawer in Esme’s lab, containing the Heart. Inside the second drawer is Paper With Code. Place the Heart on the main hallway central tile for a mini-game.
•Assemble the pieces to complete the picture, showing the hunchback with a child.
Receive the Snake Symbol. Go right and place it on the gargoyle statue to receive the Ruby Stone. Use this on the snake chest’s eye socket. It drops the Chisel which removes stones from the wall in North Tower. Grab the 2nd Stone Statuette.
Return to stonemason’s workshop. Use the Thick Cloth to take the Light Bulb. Go out to the square and light the lamppost, then go right.
Go to the café and collect the Coins. On the table you will find a Vacuum Tube and a backpack you cannot open.
Take a right and get the Frozen Lock Piece from snowman. Take it to the police station entrance.
First, put the Coins in the newspaper dispenser and take the Luggage Box Code. Use this on the bicycle and Select the code 7-5-0-0-4 to get the Acetone
Use Acetone on the easel to receive the Brush. Thaw the Frozen Lock Piece with a hairdryer from the Notre Dame scaffolding. Then use the Brush on the paint pots to paint each ball and create Part Of A Lock.
At the police station entrance place the Police Badge on the barricade to open a mini-game.
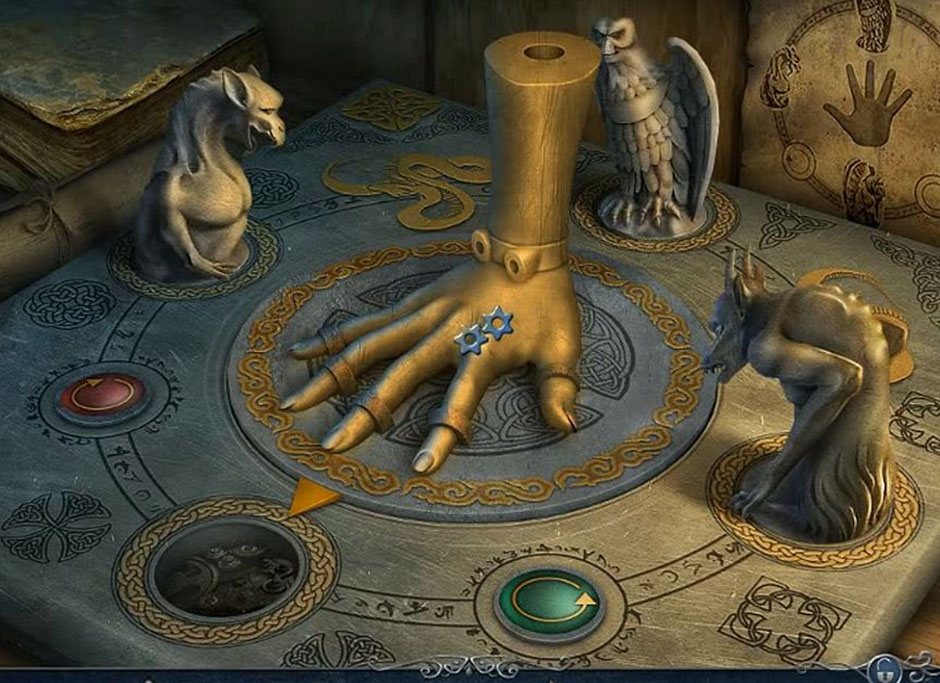
- Push all the buttons in and select the buttons: G, 7, C and D.You can now enter the police precinct. Place the Part Of A Lockon the van door to open it.You will earn your 3rd Stone Statuette. At the scaffolding you can assemble several stone pieces to get the 4th Stone Statuette.Take this to the stonemason’s workshop and set all 4 Stone Statuettes, along with the Paper With Codeonto the board to trigger a mini-game.•Move the hand according to the code.
•Sequence is: Red x2, green x3, green x2, and red x3.
You will win the Golden Hand. This opens the snake chest. Take the Pump, and the Stained Glass Frame Piece from inside.
Place the Pump on the object called the Animator and locate some hidden symbols with the Guardian Amulet.
Chapter 4: The Animator
The animator upgrades Gladriel. Click on the coffin and select the panel to get a mini-game.
•Construct a line connecting all open cells. Start at 5 across and 2 down (going left to right)
Inside the coffin are more listed items.
Do this to get an Inspired Token. Now head to the square outside Notre Dame and use Gladriel to get the Small Shield from the rightmost statue.
Place this in the relief on the steps of the Police Precinct to earn the Pliers Half and the 2nd Inspired Token. Now find the entrance to the southern tower in Notre Dame.
Combine the Pliers Half to get the Pliers and open that backpack at the café to get the Hot Dog.
Outside the crypt, feed the dog your Hot Dog and pick up the Sharp Crossbeam. Pick the Scoop and Right Sun Part up off the bench. Then use the Scoop on the sand bin to get the Scoop of Sand.
Use the Scoop of Sand to clear the ice from boathouse steps. Enter and use the Sharp Crossbeam on the chest. Put together the pieces inside to get the Brush Attachment. Next check out the cabinet and locate the listed items.
You will get a Vacuum Bag. Use the Chisel on a drawer to get the Stamp. Take that to the table and pull off a ticket from the book. Attach the Stamp and click on the ticket, which gets knocked down.
Repair the vacuum using the Brush Attachment, Vacuum Bag, and Vacuum Tube and use it to suck up the Ticket and give it to the boat captain.
Enter the boat and grab the Horn, the Camera, and the Fuel Can. Then return to the frozen fountain where you found the snowman.
Scare the crow by blowing the Horn and take the Left Sun Part. Then snap a photo of the mime with a Camera to get Photo of Zodiacal Pose.
Go to the south tower entrance.
Place the Left Sun Part and Right Sun Part to open the door lock. Take the stairs up to the next map. You will be on a roof with a row of gargoyles.
Pull the Winged Emblem off the front left gargoyle then use it to open the locked the chest in the previous room to get a Big Gear. Pick up the Screwdriver and head back up the stairs.
Set the Big Gear between the gargoyles.
Rotate them to look outward. The gate opens and you get attacked by a hunchback. Surprise!
Chapter 5: The Dungeon
Grab the Decorative Tile and Plunger from the bottom of the pillar and check the shelves. You will need to find several items inside.
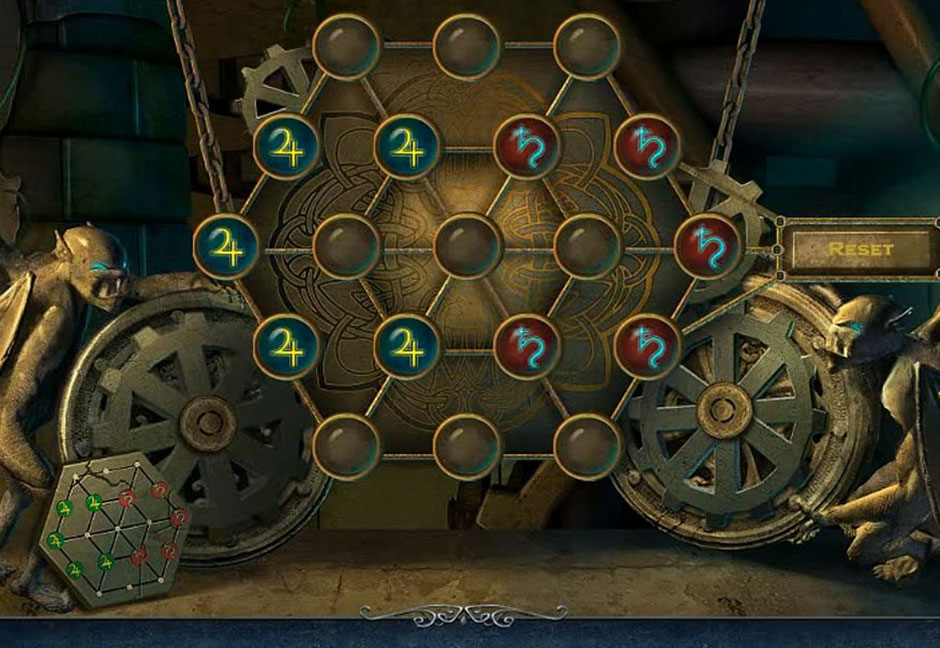
Your reward is a Coded Hexagon. Use this on the mechanism to start a mini-game where you rotate the tokens to duplicate the code.
•The solution is: Cx3, Dx5, Ax4, D, Gx2, A, Bx2, E, Bx2, Dx4, Gx2, Fx2, Cx5, Fx3, Cx5, E, B, E, and Bx5.
Pull the lever then use Gladriel on the upper grate, opening an exit to the sacristy. There is a Dirty Rolling Pin on the throne and an Allen Key on the shelves.
Unlock the right door go back to the souvenir stand cellar.
Using the Allen Key on the gramophone gets you the Record. Enter the café, give the Record to the chef, then place the Jukebox Token in the jukebox. A mini-game will pop up.
• Move the token this way: Right, up, left, down, right, down, left, up, right, up, left, down, right, up, and right.
Now go to the table and make a cup of coffee.
On the shelves you will find the Jam, and Empty Paper Bag. Take these and enter the kitchen.
Clean Dirty rolling Pin in the sink and turn the water on.
The you will be able to pick up the Wooden Spoon, Clean Rolling Pin, Eggs and the Milk.
If you look in the refrigerator you will find another list of items.
Once this is done you get the Butter.
Combine Milk, Eggs, Baking Powder, Sugar, and Butter. Use the Wooden Spoon, Clean Rolling Pin, and Jam to get Raw Croissants. Then pop them in the oven, turn the knobs and use the Empty Paper Bag to get the Paper Bag With Croissants.
Enter the bell tower entrance and grab the Plank and Esme Figurine. At the police precinct, place the Decorative Tile on the door to get a mini-game.
•Clear a path for the decorative tile to slide out.
Enter the police hall once it’s complete.
Get the Phone Numbers. Then speak to the officer and give him your Cup of Coffee, Paper Bag With Croissants, and Phone Numbers. Now enter the Inspector’s office.
Another cut scene will play and you get the Archives Key.
Open the drawer and get the Highlighter and Letter Opener. Then use the Archives Keyon the archive door.
Check the cabinets for the Funnel and the Insulating Tape. In the Inspector’s Office the Insulating Tape repairs the outlet plug. Use the Highlighter on one of the photos to get Photo With Code. This opens a box in the archives.
Inside is the Drawer Handel, which you can use to repair the drawer in the Inspector’s office to get the Signet Ring. Return to the police archives.
Use the Signet Ring to open the book and get the Pattern With 9. A cut scene will play, making the archives inaccessible.
Chapter 6: Number 9
Leave the police archive and head to the frozen fountain. Once there use the Funnel and Fuel Can on the chainsaw. Activate it to get the Chainsaw and the Splinter.
Take these items to the sacristy. Use the Chainsaw on the roots blocking the left door and enter the cemetery entrance.
Have Gladriel bring you the Torch, then set in in the alcove. Go right. The next room will have a cabinet with the 2nd Stained Glass Piece Frame inside. Then look at the fountain and place the Photo of Zodiacal Pose on it to start a mini-game.
•Press the correct three buttons as depicted in the mime poses. Select the Third Stone from the left.
You will receive the Pitcher of Water. Place it in the alcove opposite the torch for a mini-game.
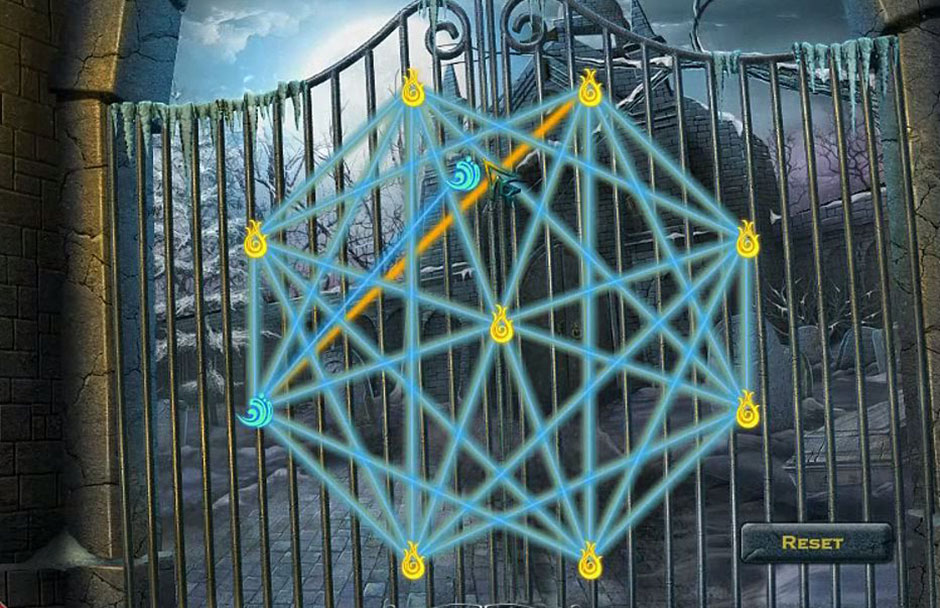
•Paint all the lines blue.
•Use the order: A-H-G-A-C-B-H-F-C-D-E-B-G-F-A-D-B-I-H-E-C-I-D-F-I-G-E-I-A .
Enter the burial ground and pick up the Jewelry-Box Arrow. Search the coffin to get the Lock Pick. Take these items to Esme’s underground lab and place the Jewelry Box Arrow on the table.
•Place the green gems on the green marked circles using these arrows: F-C-D-G-Bx2-Ex2-C-A and H.
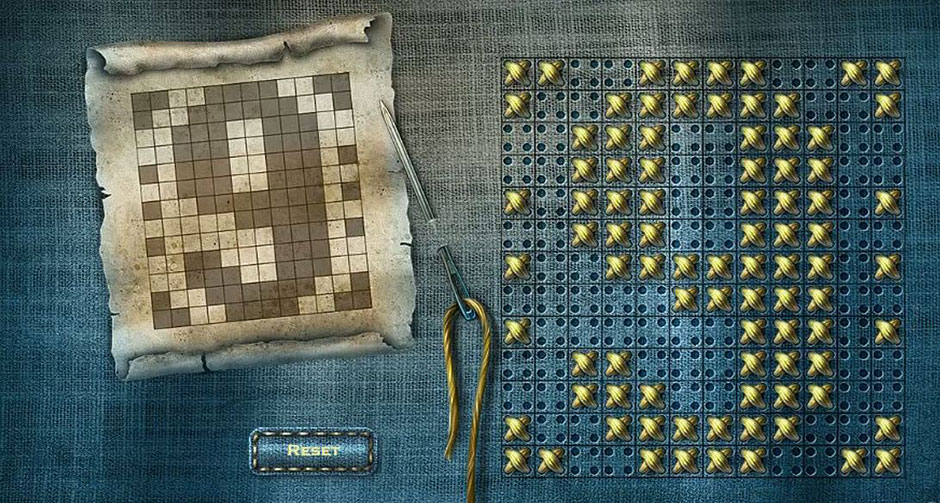
Inside are Matches, and the Golden Thread. Return to the sacristy and use the Letter Opener on the glass case. Place the Needle, Pattern With 9, and Golden Thread onto the robe to get the Arkivus Cloak.
•Stitch the pattern of the 9.
Take it back to the burial ground and use it to enter the vault.
Use Matches to ignite the oil and illuminate the room. Grab the Fleur-De-Lis Amulet. Then open the chest with the Screwdriver. Inside is the Handel Grip, Quasimodo Figurine, and Dagger Blade.
Place the Dagger Blade on the main hall pedestal to complete the Ancient Dagger. Now return to vault and place the Ancient Dagger on the disk for the 3rd Inspired Token.
Return to the sacristy. Place the FLEUR-DE-LIS AMULET on the throne to reveal the ANGEL WING. Take this to the relief on Notre Dame’s outer door and get the Magnet. Use it to pull up the Metal Plate with Holes in the police Precinct. Head into the Inspector’s office and use it on the cabinet to trigger a mini-game.
•Press the buttons in the correct sequence: In order they are 4-6-2-1-5-3.
You will then receive a list of items in the cabinet.
This will get you a Fuse to activate the fuse box outside the Crypt.
•Create a completed circuit.
Chapter 7: Crypte Archeologique
Take the Magic Sphere from the table then head down the right stairwell. A cutscene will reveal the villain’s secret identity. Don’t worry; we won’t spoil it for you.
This is the Window of Inspiration room. There is a 3rd Stained Glass Frame Piece, and a Mini-Gargoyle Wing.
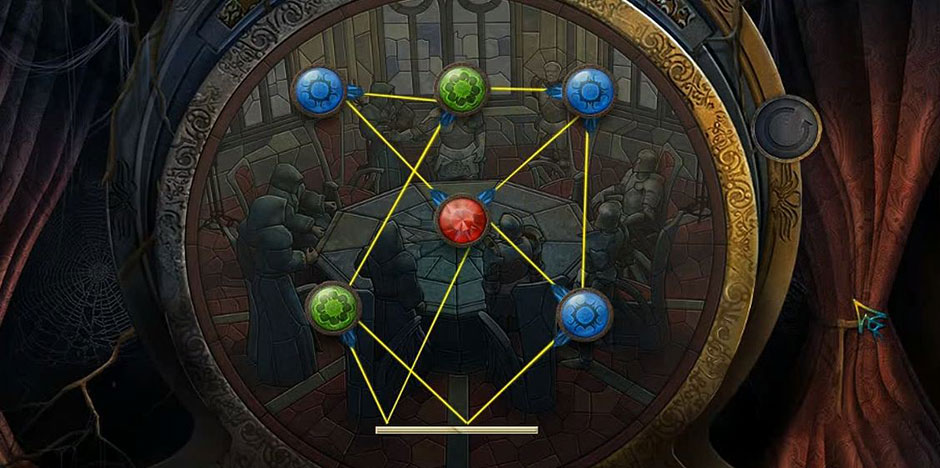
Leave and go to the stained glass chamber. Set the 3 Stained Glass Frame Piece and the Magic Sphere at the base to activate a mini-game.
•Connect the beams.
Click on the sphere to get the Tube For Water and Tube For Nectar.
First take Mini-Gargoyle Wing to the gargoyle in the stonemason’s workshop to receive the Tube for Poison.
You can fill up the Tube For Water, Tube for Nectar, and Tube for Poison at the Cathedral Fountain, the vault orchid, and snake venom in Esme’s underground lab, respectively. When you’re finished click the sphere in the lab and mix them to make the Flask of Poison. Take this out to the spray bottle in cathedral façade to create Revitalizing Spray.
This will revive the petrified girl in the Window of Inspiration room. You will acquire the J Symbol.
Chapter 8: Fleur
In the main hall, place the symbol on the pillar next to the Joan of Arc statue to receive the Hammer Key. Use this on the bell tower door to enter Quasimodo’s workshop.
The Dragon Emblem is sitting on the right table. The Wire is on a shelf. Exit and head down to the plaza. Use the Wire to repair the Shovel, and with it create a path through the snow in the garden fountain.
Grab the Dull Chisel, and Varnish from the ladder. The Varnish and Grindstone are in the cabinet. At the bell tower stairwell, use the grinder to turn your Dull Chisel into a Sharp Chisel.
Head to Quasimodo’s workshop and use the workbench to combine the Handel Grip, Splinter, and Varnish. Use the Lock Pick to get the burner knob and use the Sharp Chisel on the Splinter. Take the carving to the burner and then use the varnish. Finally put the cloak on to get the Arkivus Figurine.
Set all three Figurines on the board and a cut scene will activate. You’ll also get the 4thToken of Inspiration.
Place the tokens on the Window of Inspiration. A crate will be revealed. Inside is the Hammer. Knock down a beam in the bell tower stairway to get the 2nd Plank. These will allow you to cross the open grave in the burial grounds and take the Branch Broom. Clear the bell tower stairwell cobwebs, freeing the Honeycomb Plate and the Hook.
At the Police Precinct combine the Hook with the weight under the stairs to make a Hooked Weight. Attach it to the pulley in the bell tower to get 2nd Honeycomb Plate.
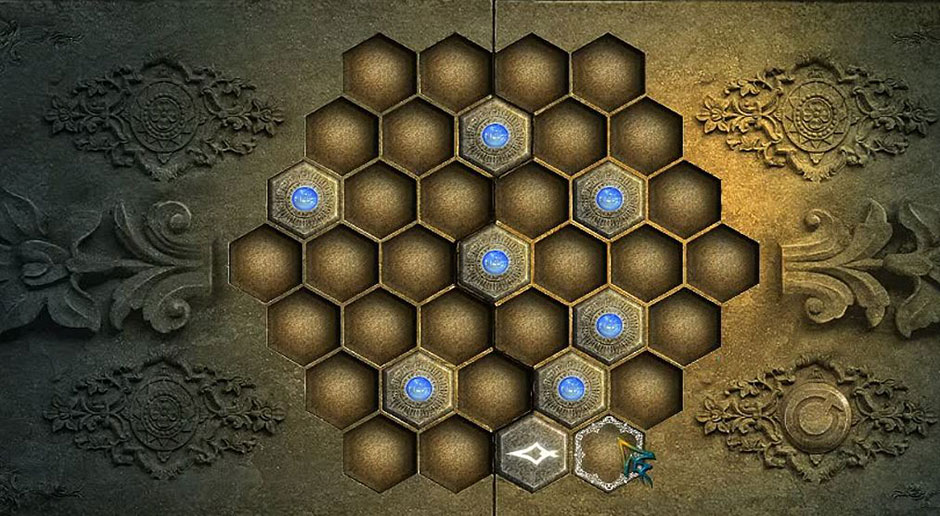
These activate a mini-game when placed on the large statue in the cemetery entrance.
•Select the arrows to push in all hexagons.
This will get you the Case Handle.
In Quasimodo’s workshop combine the Case Handle with a lid to make the Glass Cutter. Use it, and the Plunger, to open the Crypt display case and grab the Inspired Token Nine.
Then head down the stairwell to the Window of Inspiration and place it in the center.
Congratulations! You’ve completed our 9 – The Dark Side Of Notre Dame Walkthrough! For more great tips and tricks, visit our blog!
Delicious – Emily’s Hopes and Fears Walkthrough
The 9 – The Dark Side Of Notre Dame Walkthrough is meant as a guide and does not contain cheats, hacks, or serials.

